Beyond Basic Sauté: Advanced Cooking Techniques for Home Cooks
Most home cooks are comfortable with sautéing – it's quick, relatively easy, and versatile. But what if you're ready to take your culinary skills to the next level? This article explores advanced cooking techniques that unlock incredible flavor and texture, bringing restaurant-quality results to your home kitchen. We’ll break down the science behind each technique, provide clear, step-by-step instructions, and offer tips for success. Prepare to expand your culinary horizons!
1. Braising: Low and Slow for Unmatched Tenderness
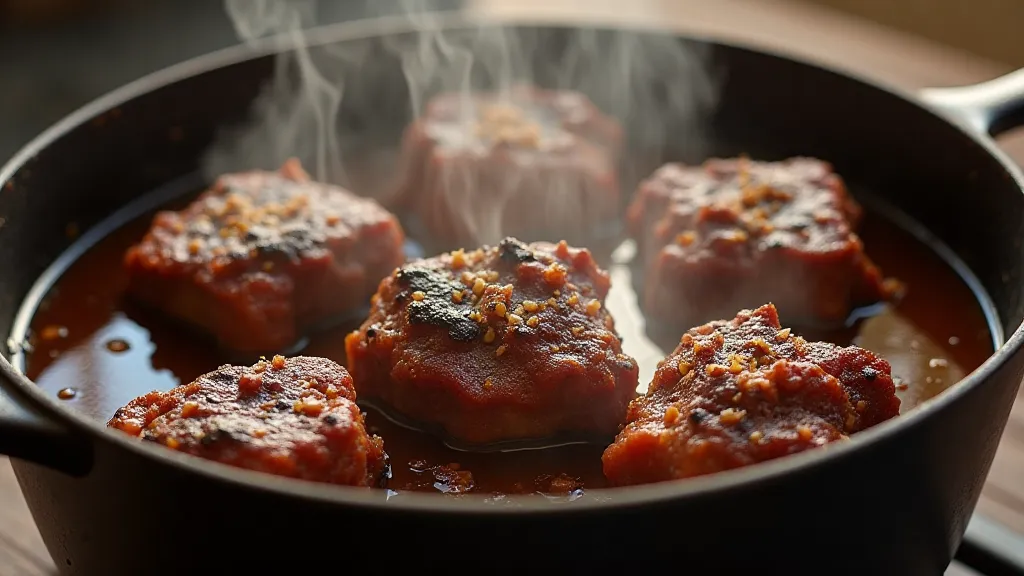
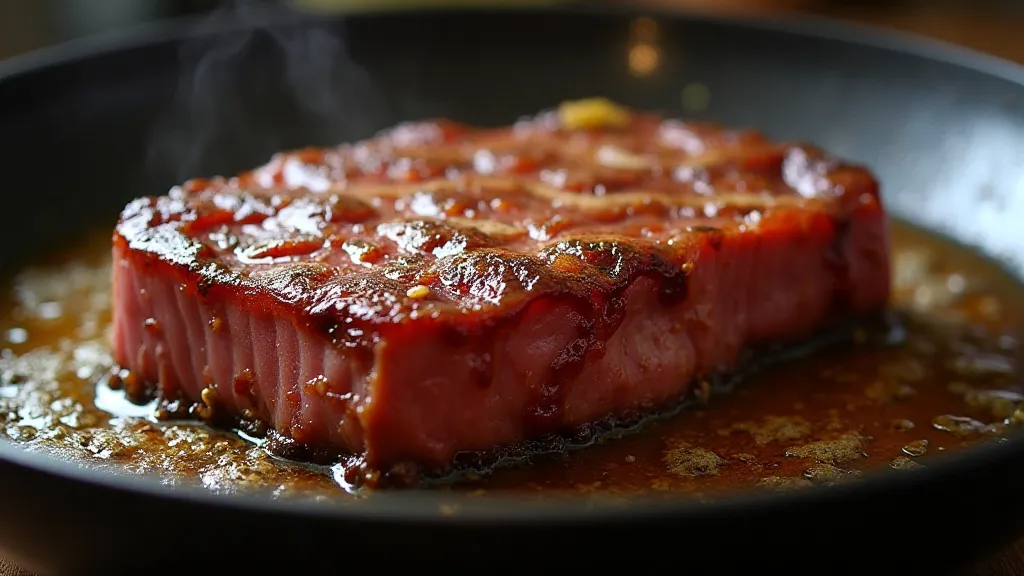
Braising is a combination cooking method – it involves searing meat first, then simmering it in liquid for a long period. Think short ribs, pot roast, or coq au vin. The science behind braising is simple: the initial sear creates a delicious crust and locks in flavor. The long, slow cooking in liquid breaks down tough connective tissue (collagen) into gelatin, resulting in incredibly tender and flavorful meat.
How to Braise:
- Sear the Meat: Pat the meat dry and season generously with salt and pepper. Sear in a heavy-bottomed pot or Dutch oven over medium-high heat until browned on all sides.
- Add Aromatics: Remove the meat and add vegetables like onions, carrots, and celery to the pot. Cook until softened.
- Deglaze: Pour in a liquid (wine, broth, or a combination) and scrape up any browned bits from the bottom of the pot. This adds immense flavor.
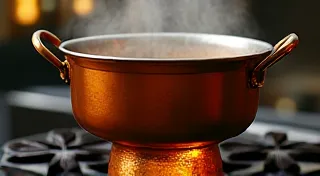
- Return Meat & Simmer: Place the meat back into the pot, ensuring it’s mostly submerged in the liquid. Bring to a simmer, then cover and transfer to a preheated oven (around 325°F/160°C) or continue simmering on the stovetop over very low heat.
- Cook Until Tender: Cooking time varies based on the cut of meat, but typically ranges from 2-4 hours. The meat is ready when it easily pulls apart with a fork.
2. Confit: Preserving Flavor in Fat
Confit (from the French word “confire,” meaning “to preserve”) is an ancient technique where food is cooked in its own fat. Traditionally used for preserving meat (think duck confit), it's now appreciated for its incredible flavor and texture. The fat acts as an insulator, cooking the food gently and evenly.
How to Confit:
- Season & Cure: Generously season the food (typically duck legs, but can be vegetables) with salt and spices. Cure in the refrigerator for 12-24 hours.
- Render the Fat: Render duck fat (or another suitable fat) over low heat until it’s liquid.
- Submerge & Cook: Place the food in a dish or container and completely submerge it in the rendered fat. Cook in a low oven (around 275°F/135°C) for several hours, until incredibly tender.
- Store (Optional): Traditionally, confit is stored submerged in fat in a cool place.
3. Sous Vide: Precision Cooking for Perfect Results
Sous vide (French for "under vacuum") involves vacuum-sealing food in a bag and cooking it in a precisely temperature-controlled water bath. This allows for incredibly accurate cooking, resulting in uniformly cooked food with unparalleled tenderness and moisture. It eliminates overcooking and maximizes flavor.
How to Sous Vide:
- Season & Vacuum Seal: Season the food and vacuum seal it in a bag.
- Water Bath: Fill a container with water and use a sous vide immersion circulator to precisely control the water temperature.
- Cook: Submerge the bag in the water bath and cook for the appropriate time, based on the type of food and desired doneness.
- Sear (Optional): After sous vide cooking, often a quick sear in a hot pan is used to add color and texture.
4. Pan-Roasting: The Best of Both Worlds
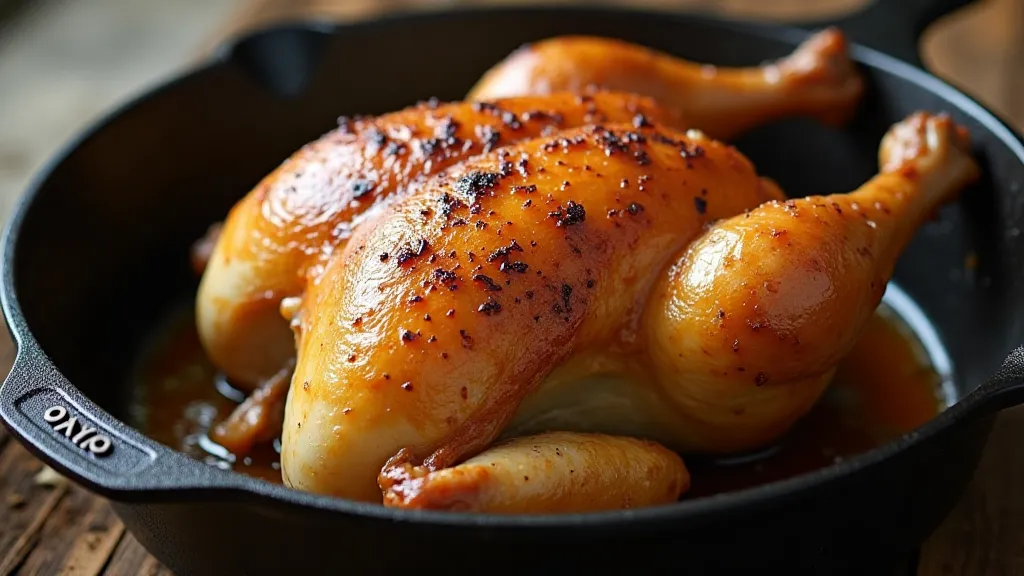
Pan-roasting combines the searing techniques of pan-frying with the moist, even heat of roasting. It’s fantastic for achieving crispy exteriors and juicy interiors, particularly with poultry or vegetables.
How to Pan-Roast:
- Preheat Oven: Preheat your oven to a moderate temperature (around 375°F/190°C).
- Sear: Sear the food in a heavy-bottomed oven-safe pan or skillet over medium-high heat until browned on all sides.
- Add Liquid (Optional): Add a small amount of liquid (broth or wine) to the pan.
- Transfer to Oven: Place the pan in the preheated oven and roast until cooked through.
Mastering these advanced cooking techniques will elevate your culinary skills and allow you to create restaurant-quality dishes in your own kitchen. Experiment, practice, and enjoy the journey!